
Lengthy recipe blog posts have been a trend ever since word count became important for search engine optimization. Instead of just a hundred word recipe, food and recipe bloggers often post 600-1000 word (or longer!) entries, making it difficult to find the actual recipe and introducing endless scrolling.
To create the best blog posts in any situation, always be thinking about the context in which your reader is likely to be utilizing the information you’re providing. For example, if you’re describing how to get somewhere, put your Google Maps link/embed early on so that someone trying to reach their destination in a rush doesn’t get frustrated.
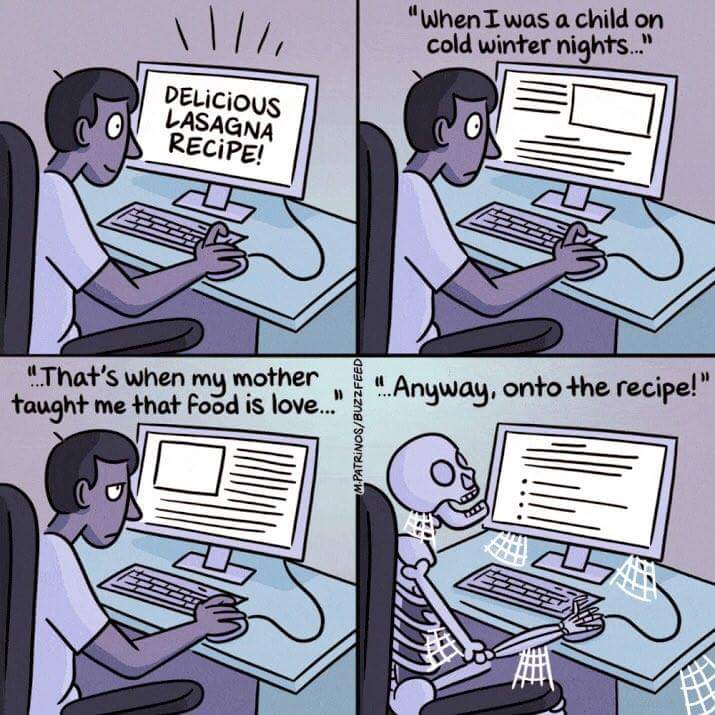 (Cartoon credit: Maritsa Patrinos)
In the context of recipes, it helps to picture the scene of someone in their kitchen with their laptop, phone, or tablet, scrolling down your recipe with floury fingers and desperately trying to keep track of what they need and what step of the process they’re on. A serious recipe maker wants to be able to find a recipe instantly, with minimal scrolling, and no distractions. But you also need to cater for your regular blog readers who enjoy hearing your stories, and for the visitor who is considering making your recipe but just randomly scrolling through at the research stage before they get into their kitchen.
So how do you introduce a happy medium that satisfies blogging needs, search engine optimization needs, and visitor needs without compromising? Here are some really simple ways to make your recipes more user-friendly without compromising!
Tip: Using a recipe plugin? Make sure you check your posts on mobile – not all recipe boxes will display, leading to endless frustration and a high bounce rate.
Currently reading: 5 Ways To Make Your Recipe Posts More User-Friendly Click To Tweet
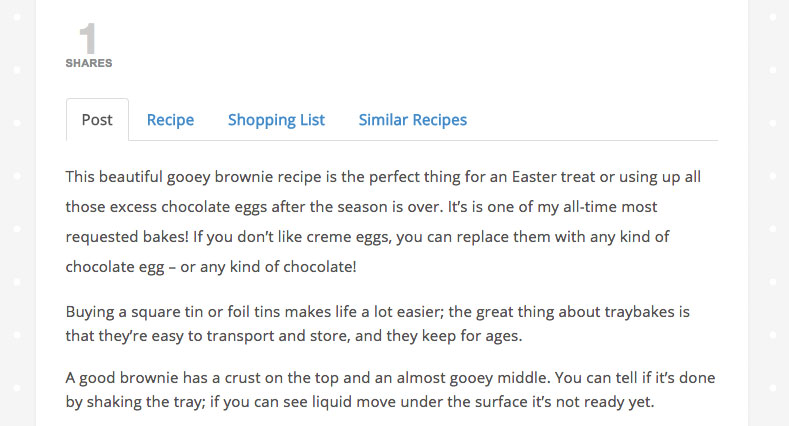
01. Use tabs
This is my personal favorite, because it means your visitors can find what they’re looking for straight away and it separates out the two content types (your personal post + recipe) without having to have them on different posts. The casual reader can read all about your escapades making a chocolate fondant, whereas the serious recipe-maker can make the recipe easily without distractions or lots of flour-fingered scrolling.
If you wanted, you could even take it a step further and have one tab for your story and human interest/arty photos, one with just the recipe, and one with photos of the process. Or a tab with the equipment you need and affiliate links to buy it. Or a tab with a shopping list. Or a tab with related recipes. There’s no limit to what you can do and what tabs you can add, just use your imagination!
Take a look at the various options for free tab plugins in the WordPress Plugin Directory or by logging into your WordPress Dashboard and going to Plugins > Add New (remember to pick one that’s responsive!)
Tip: Use heatmapping software such as HotJar or CrazyEgg to keep track of what tabs viewers are browsing most and where they’re spending their time on posts, so you can continually improve user experience.
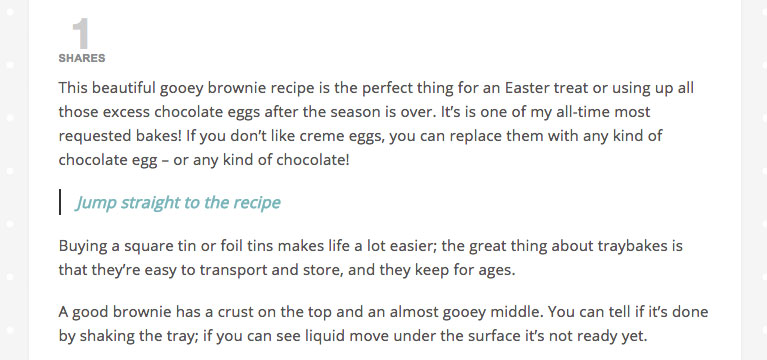
02. Utilize jump links
A jump link (also known as an anchor link) is an internal link on your post or page which, when clicked or tapped, immediately ‘jumps’ the user to a specific section. The advantage is that the reader doesn’t endlessly scroll back and forth trying to find the recipe, especially if it’s not simply at the bottom of the post. It also means you aren’t forced to have your recipe in a specific place every time.
You can also use jump links to direct users to your story, photos, or any part of your page – you’re not limited to just one link!
To add jump links, take a look at this really quick jump links tutorial from WordPress.
Tip: Make the jump link stand out so it’s easy for skim-readers to spot, for example by putting it in a quote box or using styling to highlight the text, making it big and bold, or similar.
03. Or put your recipe near the top
If you don’t want to mess around, this is the simplest solution…and it’s really effective. Have an intro sentence to the recipe, put the recipe directly underneath, and then follow up with your images and story. Done!
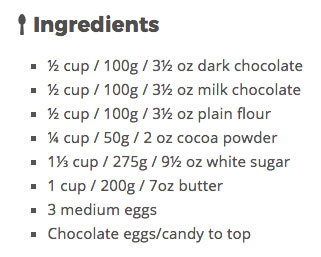
04. Include conversions
While conversion calculators exist online, make life easier for your visitors by doing the conversions for them and including different weights, measures and settings to cater for a wider variety of audiences and cultures. Many people will bounce rather than putting the effort in to convert measurements.
There are many automatic converters, but I’d recommend googling the conversions on an individual basis (and also testing them for yourself where possible), especially if you’re including cups as automatic converters straight up won’t work.
05. Optimize your images for faster loading
As well as making your recipe information easy to spot and access, you’ll also want to optimize your images so they load quickly for your visitors. Take a look at How To Optimize Your Images for The Web for a step-by-step guide.
What’s your favorite way of presenting recipes? Let us know in the comments!
Pin for later:


No Comments